London's Private Property Concierge +44 7 520 680 434 WhatsApp
Perfect Living Services
Call Book
Menu

Painting & Decorating · 13 min read

How to paint a room properly: preparation, paint and finish

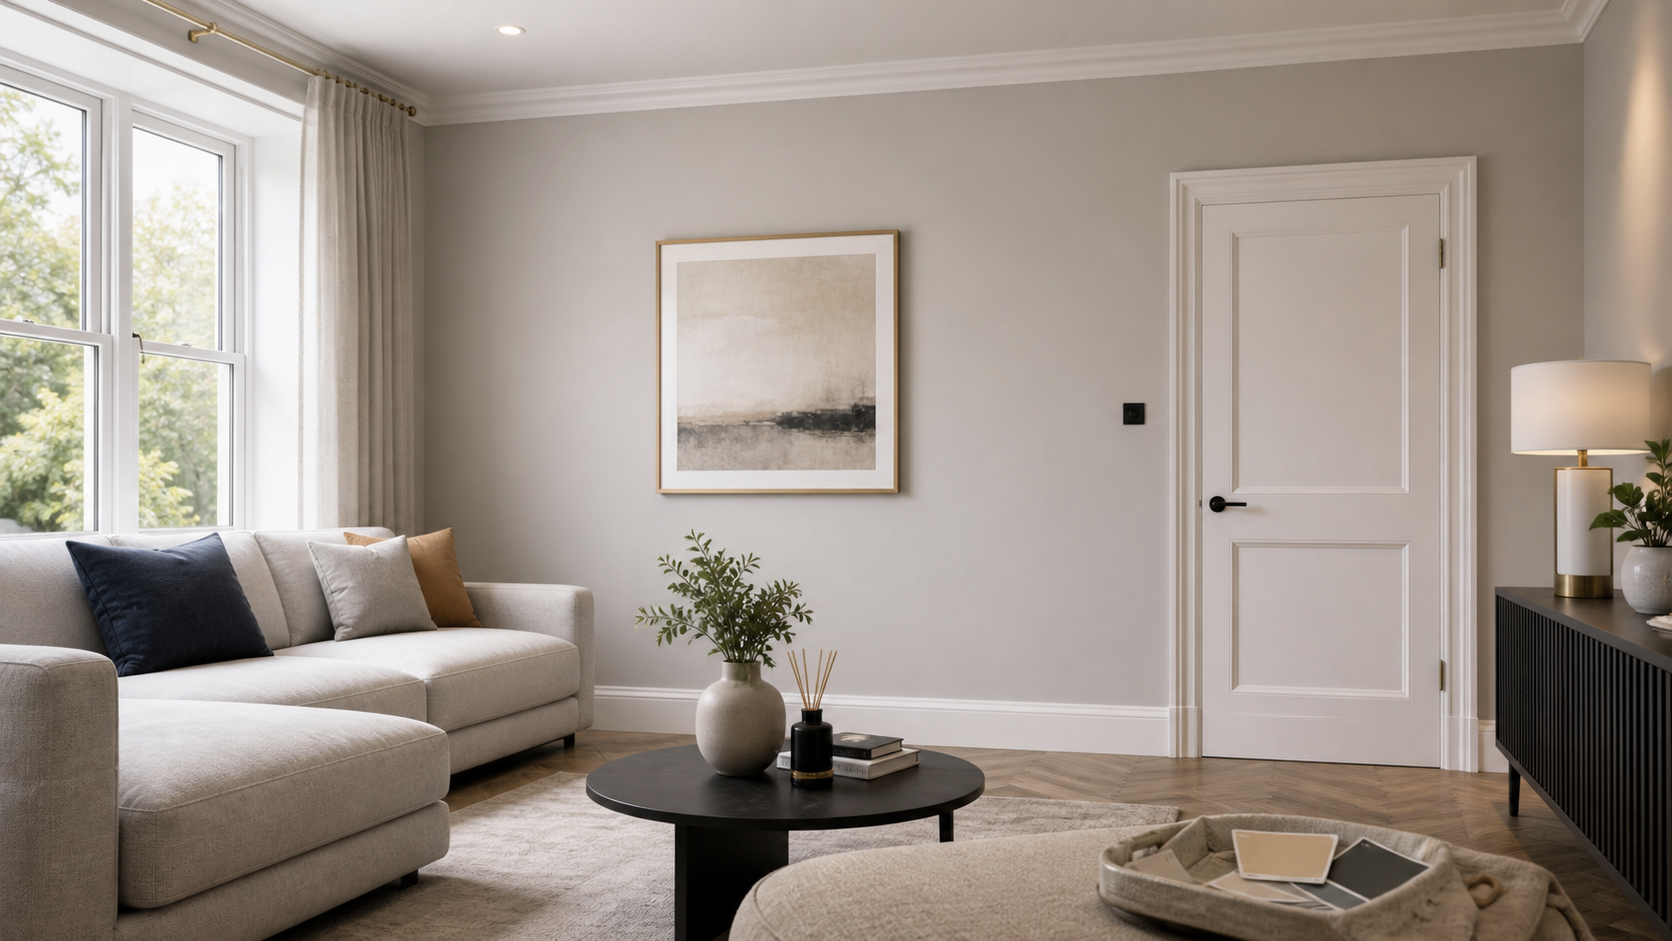
A practical British decorator's guide to painting a room: preparation, filling, sanding, primer, cutting in, coats and common mistakes.

Freshly painted modern room in a UK home
Quick answer A good paint finish comes from preparation: clean, fill, sand, dust off, prime problem areas, cut in carefully and apply even coats with proper drying time.
DifficultyIntermediate
Time1-3 days depending on preparation and drying time
DIY cost£45-£180 depending on paint, tools and room size
Professional costDecorator day rates commonly start from around £220/day depending on area, prep and finish

Is this suitable for DIY?

Should you do this yourself?

Painting a simple room is suitable for DIY if walls are sound and you can take time over preparation.

When not to DIY

When to stop and call a professional.

Use a decorator for high ceilings, damaged walls, rental deadlines, dark-to-light colour changes, staining, damp marks or finish-critical rooms.

Tools and materials

What you need before you start.

Required skillsFillingSandingCutting inRolling evenly
ToolsRollerBrushesPaint trayFilling knifeSanding blockDust sheetsMasking tape
MaterialsFillerPrimer where neededInterior paintSugar soap or cleanerCaulk for gaps

Safety and UK regulations

Read this before touching the job.

Safety warningsUse a stable ladder and do not overreach.Ventilate while painting.Check older paint surfaces before heavy sanding in period properties.Keep wet paint and tools away from children and pets.
UK regulations and professional limitsThere are usually no Building Regulations for simple decorating.Older properties may require care with historic coatings and dust control.

Step by step

How an experienced tradesperson would think through it.

  1. Clear the room and protect floors, furniture and fittings.
  2. Wash greasy or marked surfaces. Paint does not hide dirt; it sticks to it.
  3. Fill holes and cracks, let filler dry and sand smooth.
  4. Caulk small gaps between trim and walls where appropriate.
  5. Prime stains, bare plaster patches or strong colour changes.
  6. Cut in around edges, ceiling line, sockets and trim.
  7. Roll in controlled sections, keeping a wet edge and avoiding overloaded rollers.
  8. Allow proper drying time before the next coat.
Professional tipsShine a work light along the wall after sanding; it reveals defects before paint does.Cheap rollers often leave a poor texture and lint.Bathrooms and kitchens need paint suited to moisture and wiping.
Common mistakesSkipping wall washing.Painting over shiny or dusty filler.Using one thick coat instead of two controlled coats.Pulling masking tape after paint has fully hardened.

Troubleshooting

If it does not go to plan.

IssueLikely causeFix
Patchy finishUneven suction or poor coveragePrime patches and apply another even coat.
Paint peelsDirty, damp or glossy surfaceRemove loose paint, prepare properly and repaint.
Roller marksOverworking drying paintKeep a wet edge and use correct roller loading.

Questions

Frequently asked questions.

Do I need primer?

Use primer on bare plaster patches, stains, strong colour changes or surfaces where adhesion is uncertain.

How many coats do I need?

Most rooms need two finish coats after proper preparation.

Can I paint over damp marks?

No. Fix the damp cause first, then prepare and stain-block if appropriate.

Soft CTA

Want it handled by Perfect Living?

Open the house painting service page or send photos, postcode and preferred timing.

WhatsApp Message us